Effective communication is essential in the teaching profession, yet managing emails while keeping track of tasks can become overwhelming. An Outlook Email Template With Checklist can help streamline your communication process, allowing you to focus more on your students and less on the administrative tasks. This practical resource not only saves time but also ensures that you don’t miss important details in your emails.
Benefits of Using an Outlook Email Template With Checklist
When you create or download an Outlook email template that incorporates a checklist, you’re setting yourself up for success. Here are some specific benefits you’ll likely experience:
- Consistency: Using a template ensures that your emails maintain a consistent tone and structure, which is crucial for professionalism.
- Efficiency: A built-in checklist within your email template lets you quickly verify that all necessary information is included before sending.
- Clarity: Including a checklist helps clarify what you need from your recipients, making it easier for them to respond accurately.
- Time-Saving: Templates reduce the time spent composing emails, allowing you to focus on teaching and other pressing tasks.
By adopting this approach, you’ll find that your communication becomes clearer and more effective.
How to Create an Outlook Email Template With Checklist
Creating a template in Outlook is straightforward, especially when you incorporate a checklist. Here’s a step-by-step guide to get you started:
Step 1: Open Outlook and Create a New Email
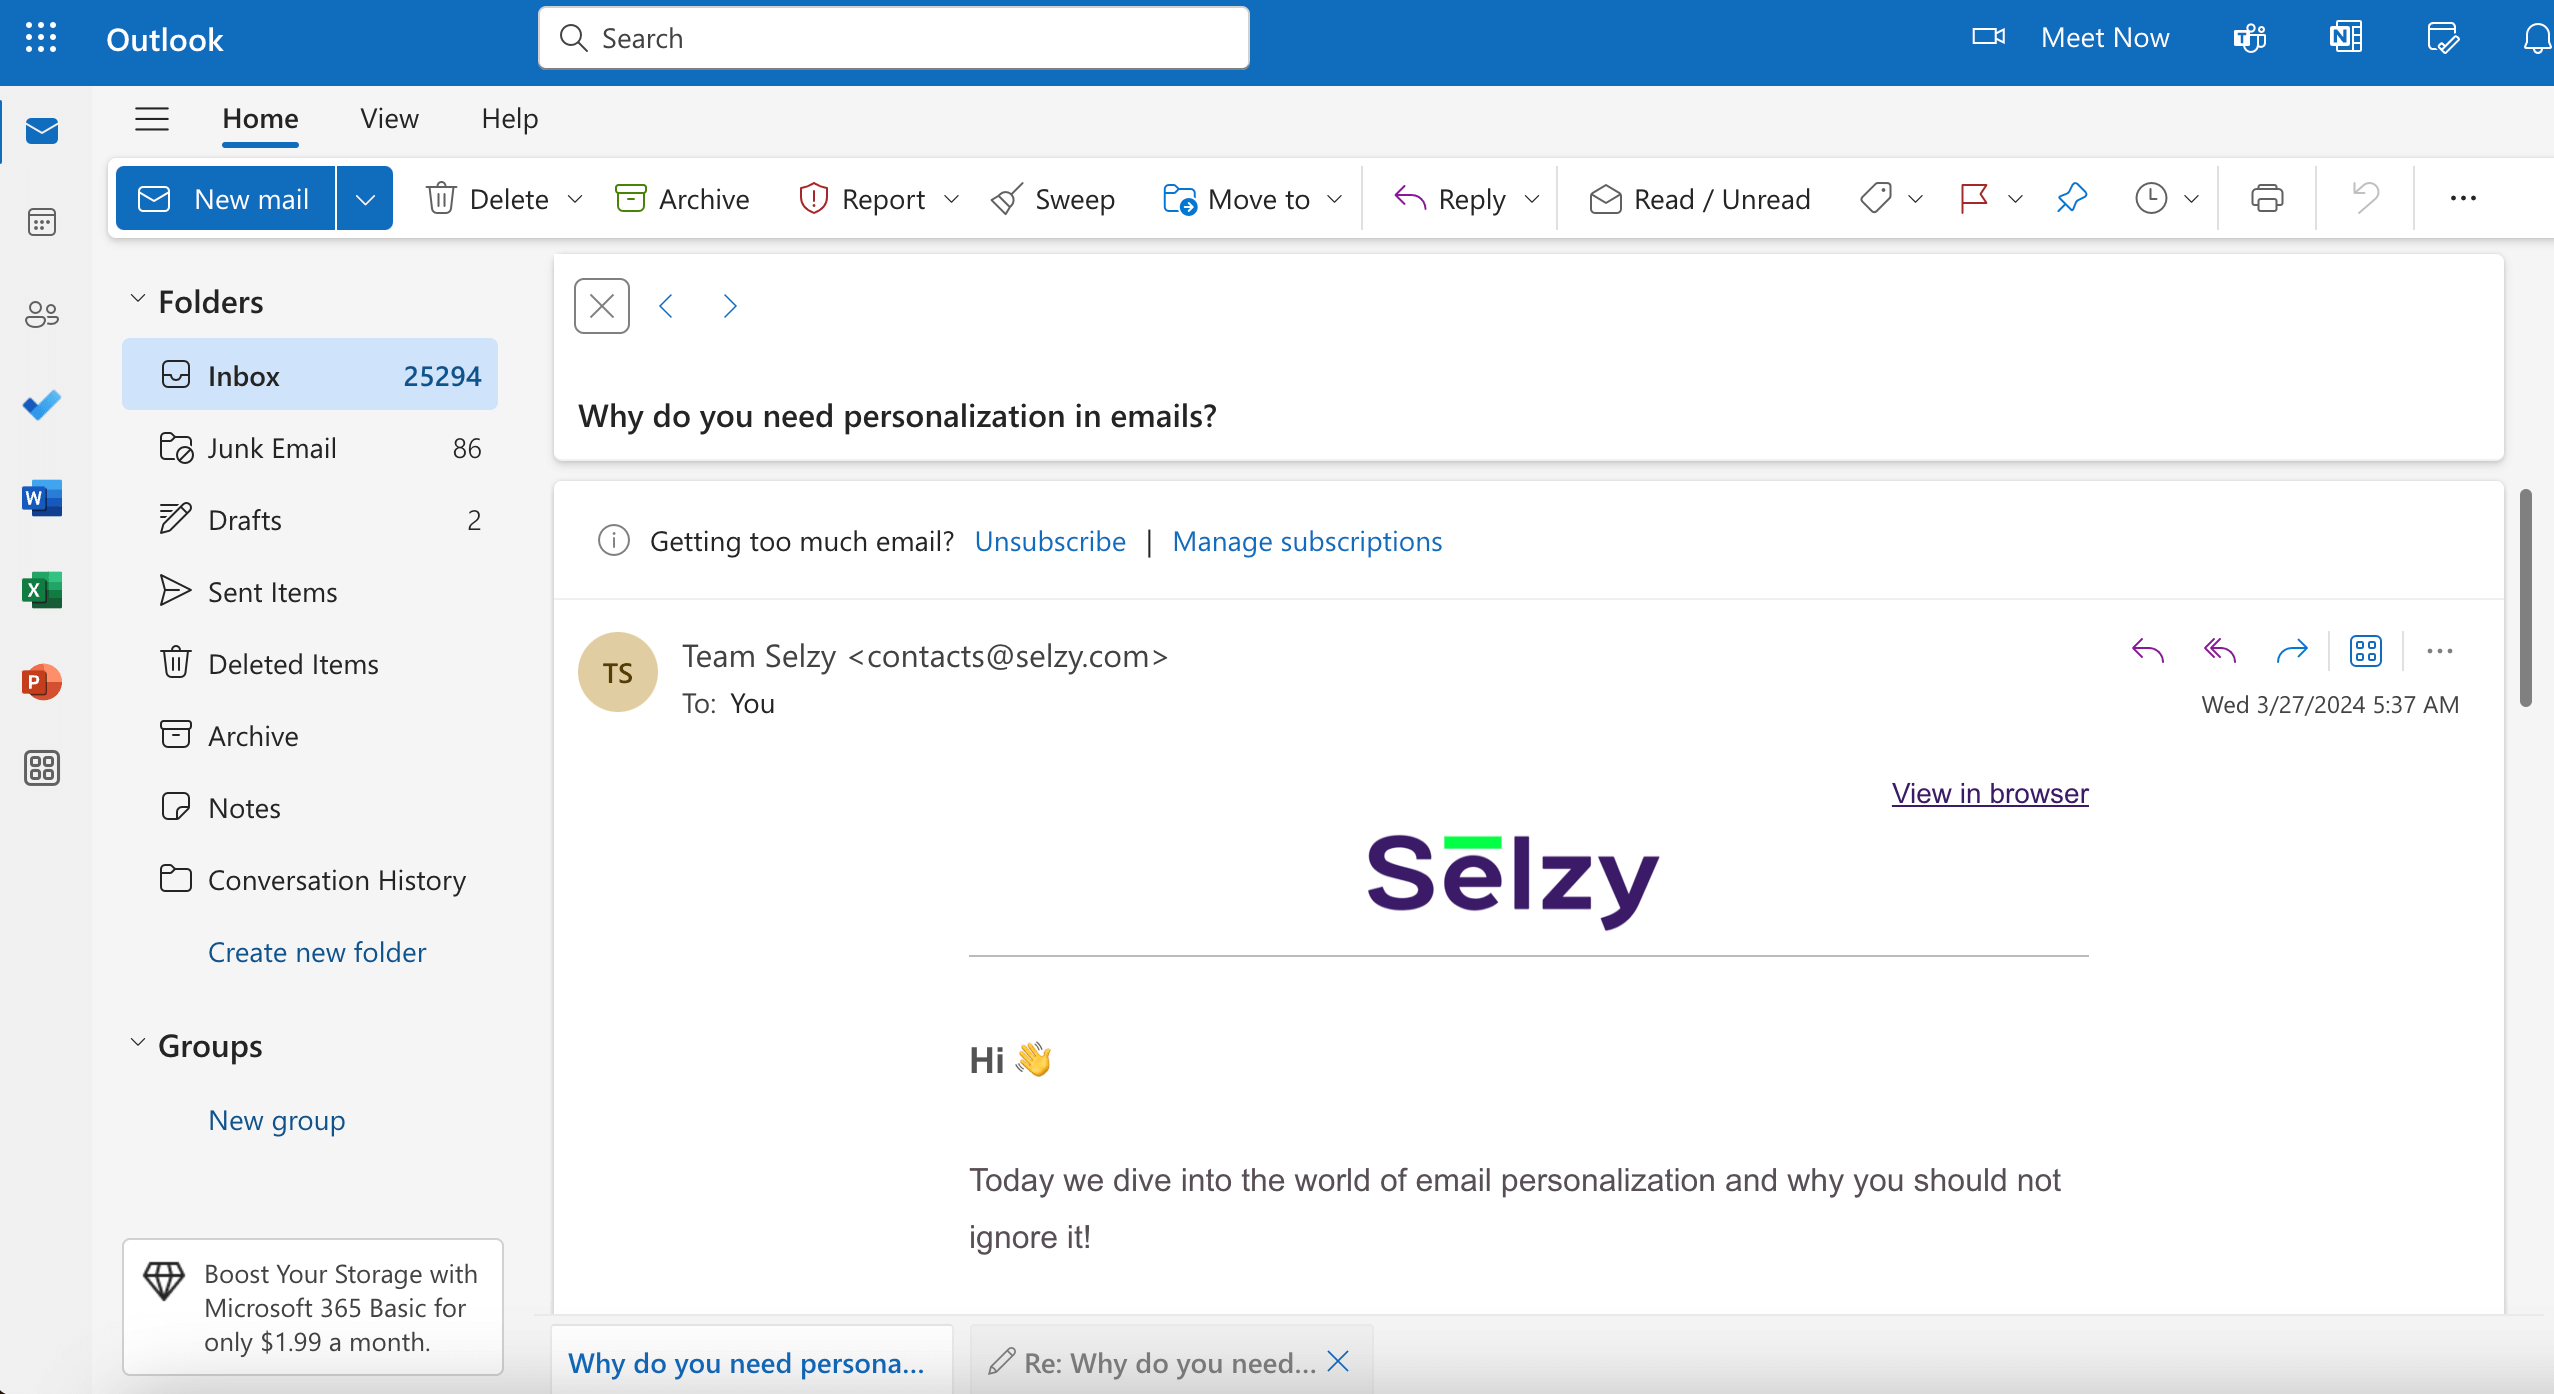
Begin by launching Outlook and clicking on “New Email.” This will open a blank email window where you can start drafting your template.
Step 2: Draft Your Email Content
Write the content you’d like to include in your email. This could be a message to parents, colleagues, or students. Make sure it’s clear and concise. For example:
“Dear Parents,
I hope this message finds you well. Please find below the checklist for our upcoming parent-teacher conferences.”
Step 3: Insert a Checklist
To insert a checklist, you can either type it out manually or use bullet points. Here’s how you can format it:
- Confirm your availability
- Prepare your child’s progress report
- Bring any questions you may have
Step 4: Save as a Template
Once your email is ready, go to “File” and select “Save As.” Choose “Outlook Template” from the file type dropdown. Give your template a descriptive name, such as “Parent-Teacher Conference Checklist,” and click “Save.”
Step 5: Use Your Template
The next time you need to send a similar email, you can easily access your template. Go to “New Items,” select “More Items,” and then click on “Choose Form.” From there, navigate to the “User Templates in File System” option to find your saved template.
Tips for Customizing Your Template
While having a base template is great, customizing it for different situations can enhance its effectiveness. Here are some practical tips:
- Adjust the Checklist: Depending on the situation, modify the checklist items to suit your needs. For instance, if you’re sending an email regarding a field trip, include relevant items like “Confirm permission slip” or “Pack a lunch.”
- Personalize the Greeting: Tailor the greeting for each recipient. A simple “Dear [Name]” can make a big difference in how your email is received.
- Use Clear Action Verbs: Ensure that each checklist item begins with a clear action verb, like “Submit” or “Prepare,” to provide precise instructions.
Where to Store Your Email Templates
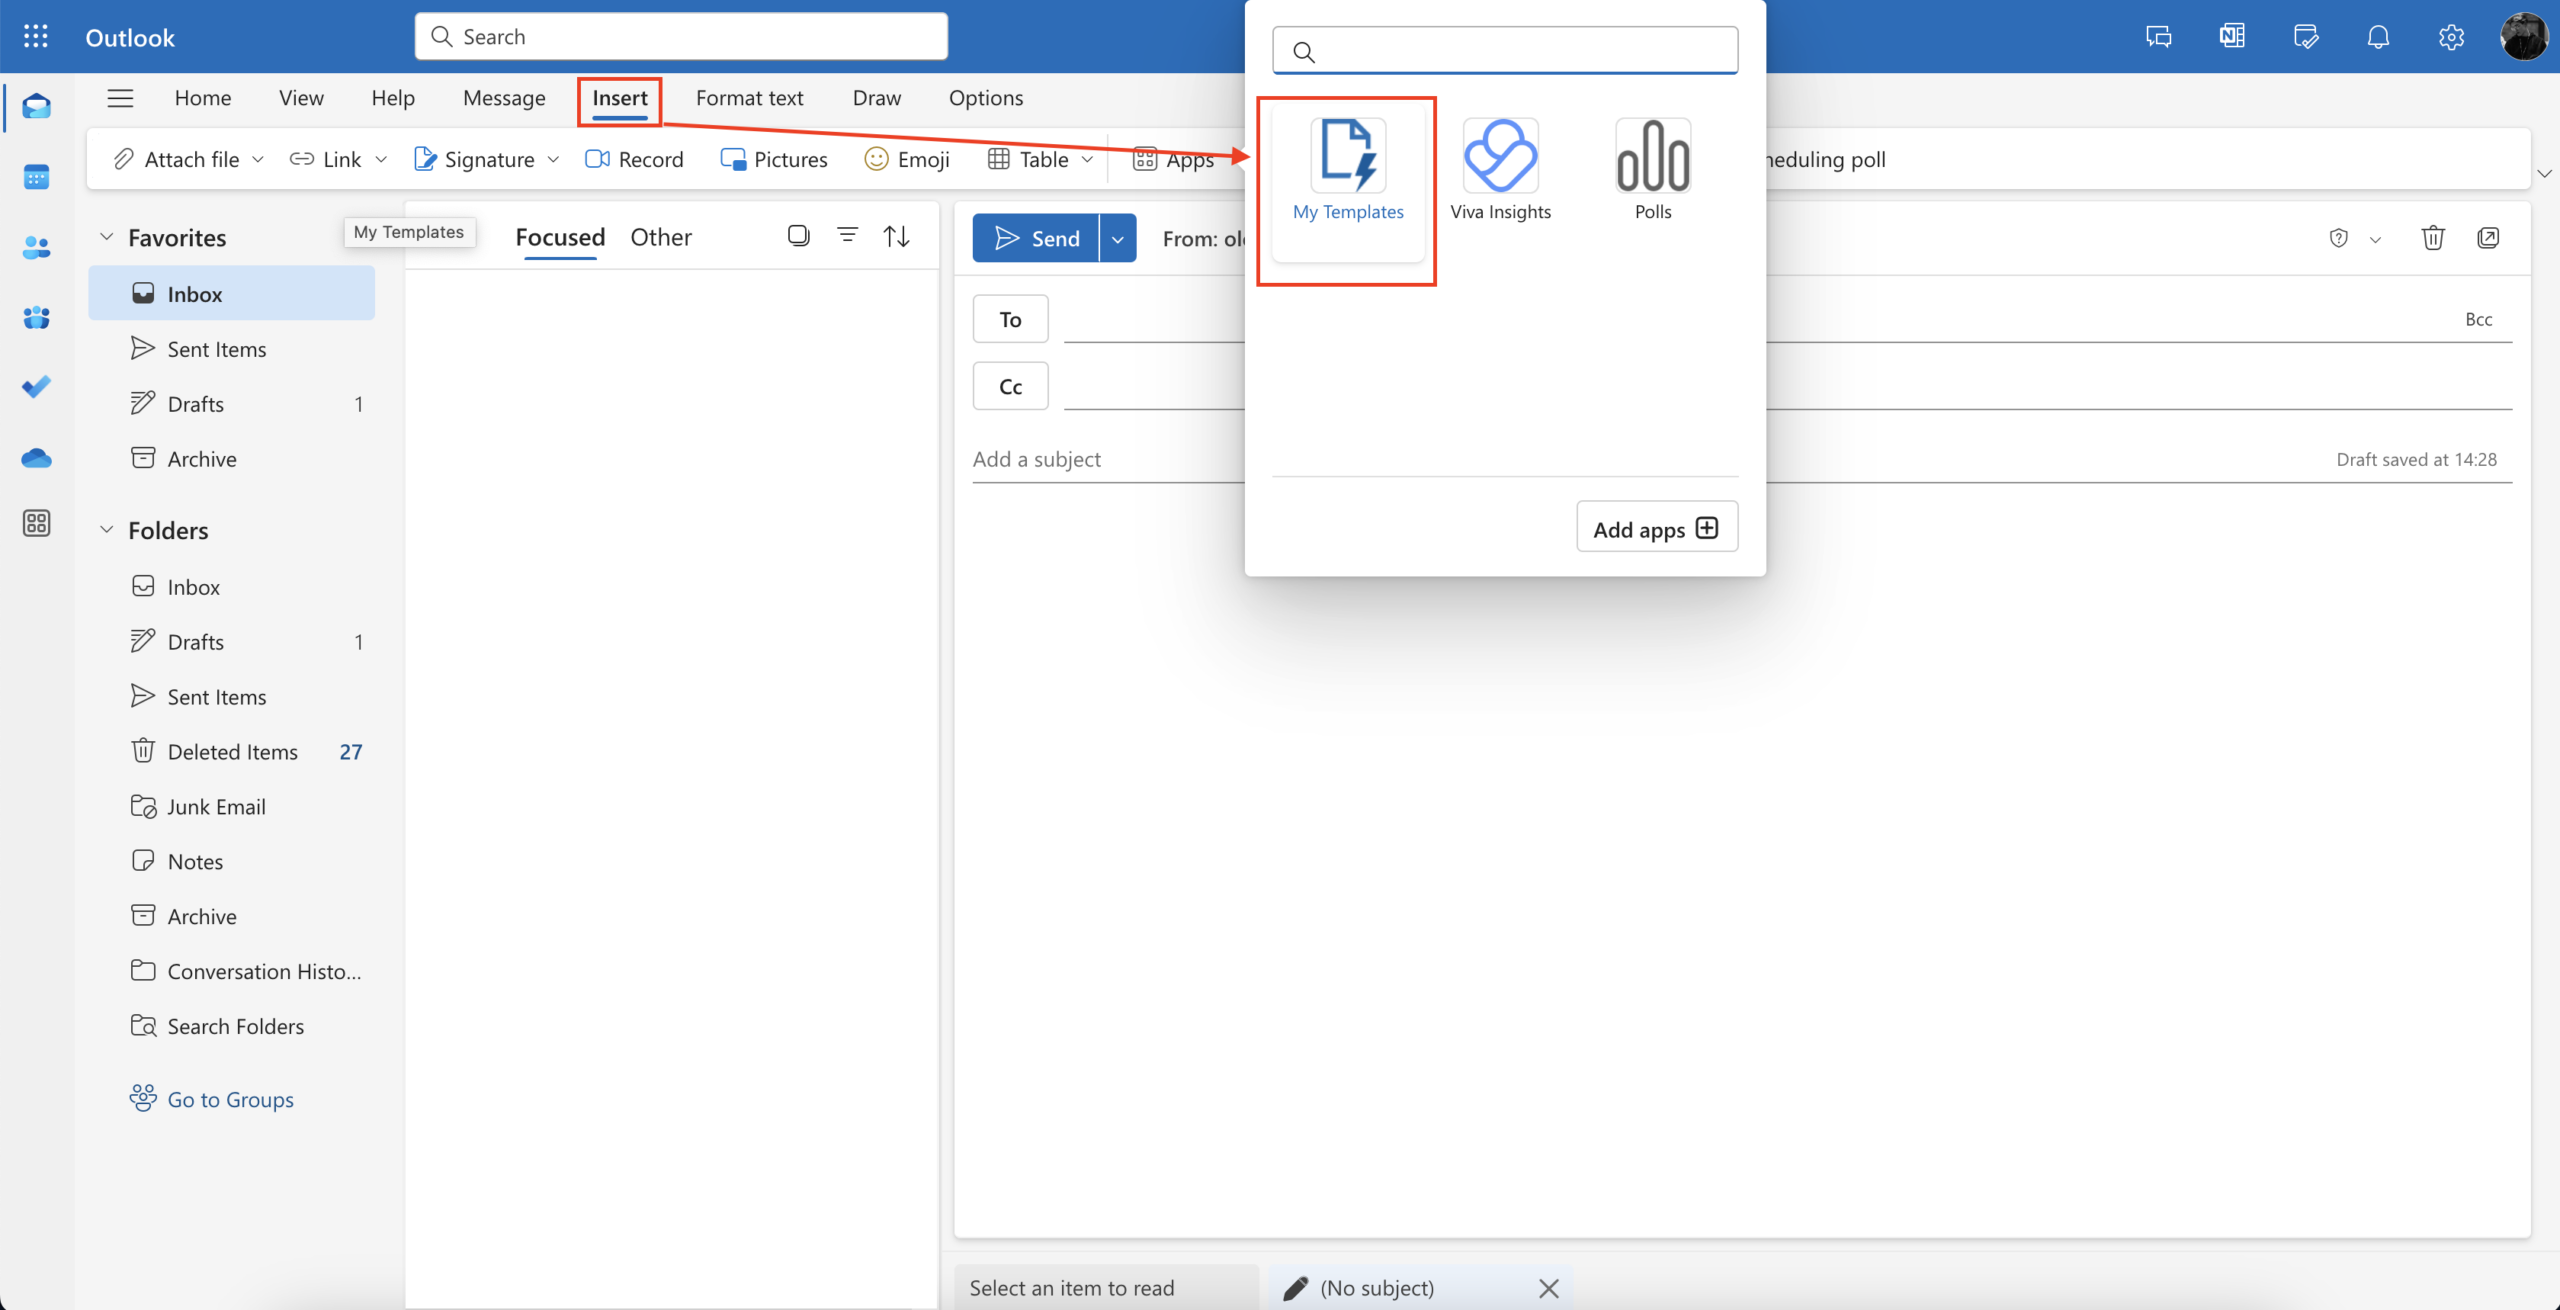
Once you’ve created your Outlook email templates, you need to consider where to store them for easy access. Here are some recommendations:
- Local Drive: Save them on your computer’s local drive, but ensure that you have a backup. This way, you won’t lose your templates if something happens to your email client.
- Cloud Storage: Using a service like OneDrive or Google Drive allows you to access your templates from any device. This is particularly useful if you’re working from multiple locations.
- Shared Folders: If you work in a team, consider storing templates in a shared folder. This promotes collaboration and ensures everyone is on the same page.
Building a Routine With Your Email Template
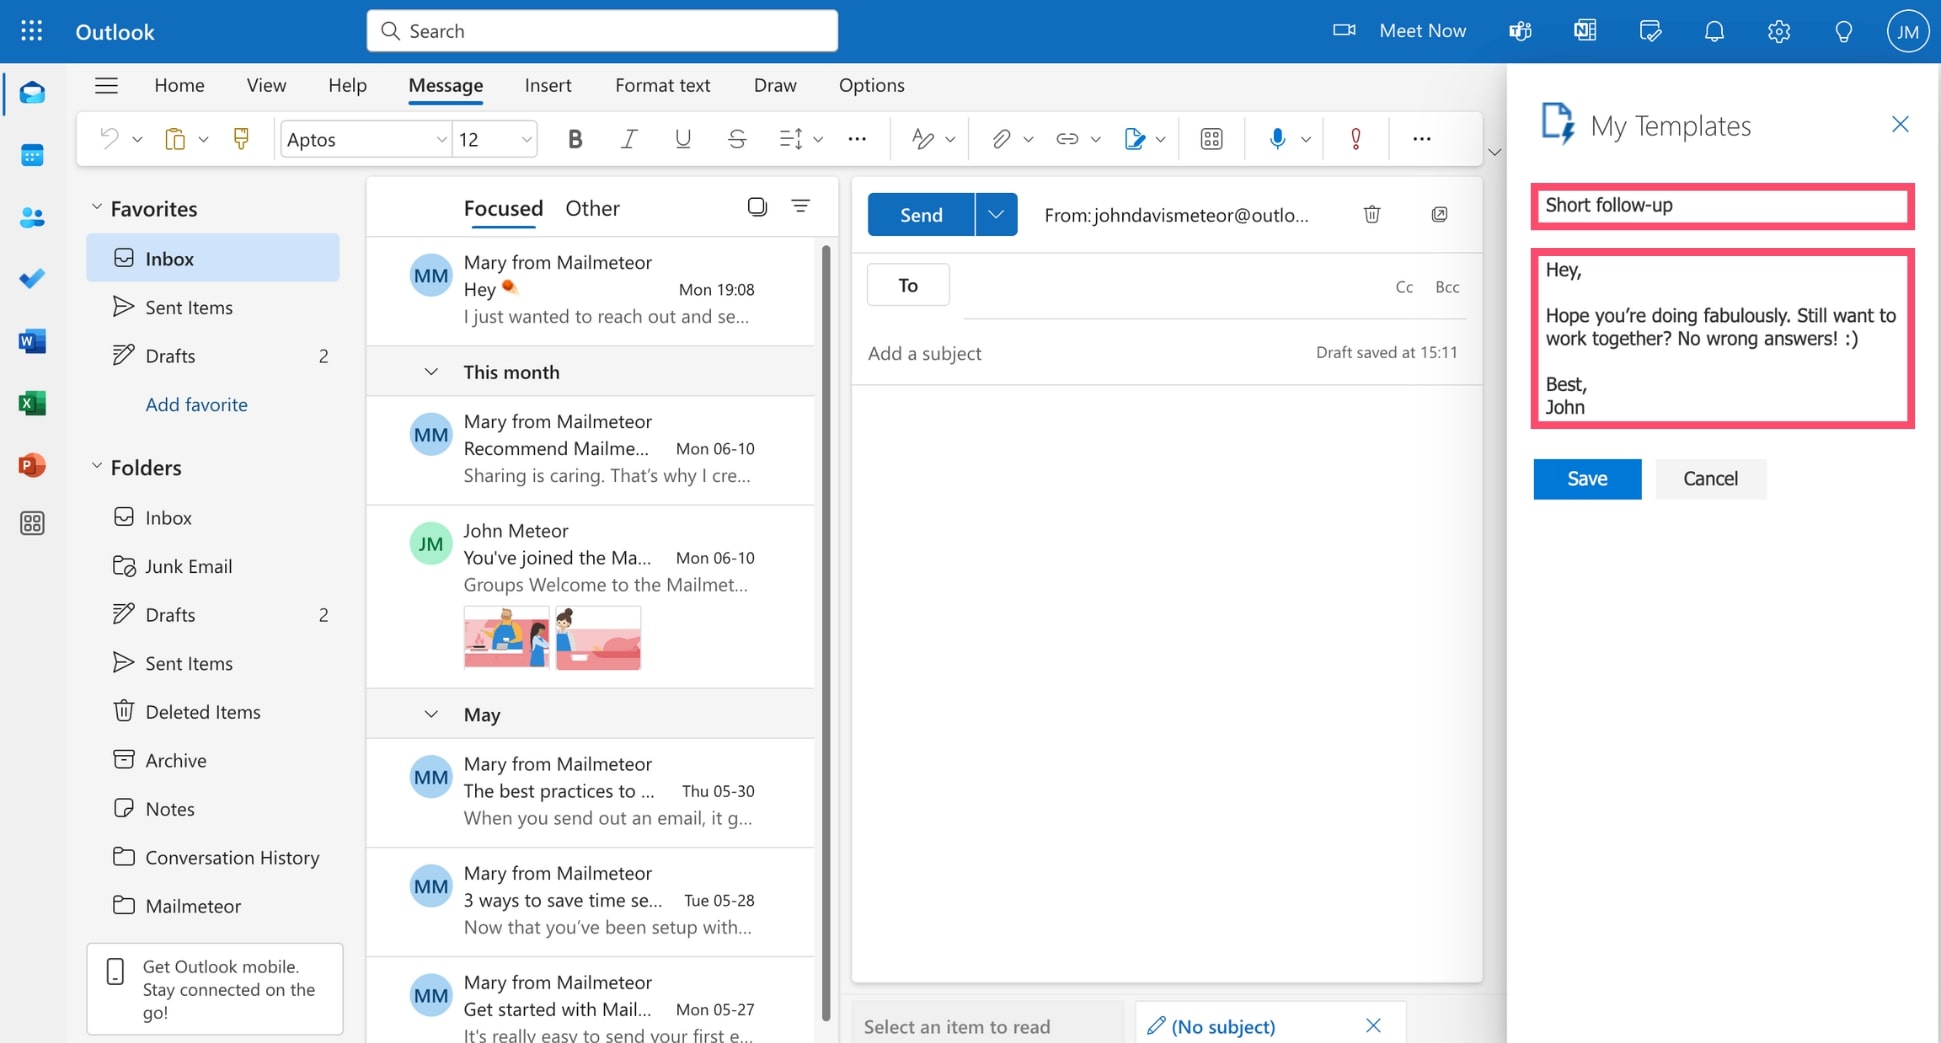
Using an Outlook Email Template With Checklist not only improves your email efficiency but also helps in establishing a routine. Here’s how to make the most of it:
- Set Reminders: Schedule regular reminders to send emails that require checklists. This helps in building a habit around your communication.
- Evaluate Regularly: Periodically review your templates and checklists to ensure they remain relevant. Update them based on feedback from recipients or changes in your teaching schedule.
- Encourage Feedback: After using the checklist, ask recipients for feedback. This can help you improve future communications and make your templates even more effective.
Integrating this resource into your daily routine can significantly reduce the cognitive load associated with email management.
Incorporating an Outlook Email Template With Checklist into your teaching practice can streamline your communication efforts while ensuring you stay organized. By following the steps outlined and adapting your templates to fit various situations, you can enhance your email efficiency and foster clearer communication with parents, colleagues, and students alike. Start by creating your template today, and watch how it transforms your email management!









